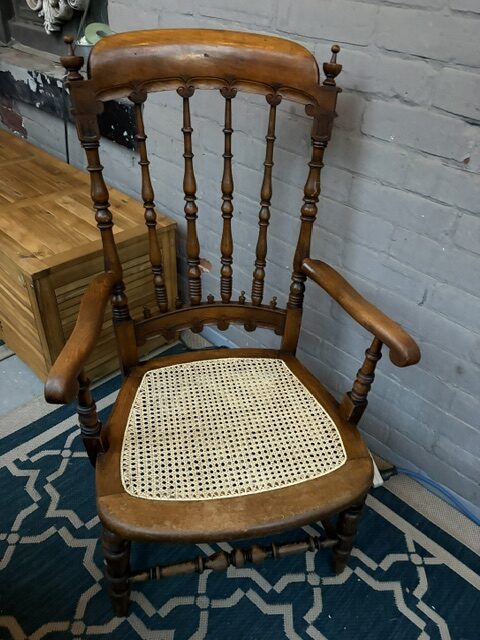
Re-Caning an Antique Chair Seat
In downtown Toronto, if you keep your eyes peeled and don’t mind lugging a piece of furniture for a few blocks, you can pick up all kinds of beautiful antique wooden furniture for free on the street. Which is how I ended up re-caning an antique chair seat this Summer.
I think it was sometime in 2024, I was on my way home one evening when I spotted this beautiful chair sitting on the curb. I checked it out, and there wasn’t even a wobble – the only issue was that someone had very clearly tried to stand on the chair and had put their foot through the woven cane seat. So I picked it up and carried it home, excited about my find.


I’ve re-caned chair seats before, about 20 years ago, and the (semi-finished) results are still in use at my mom’s (along with a couple of chairs that have been sitting in her shed, waiting for their turn). And mom instilled in all us us a real optimism about our ability to do things ourselves. So I was pretty certain that I could re-cane the seat, and fix this lovely piece of hand-craftsmanship. But I did go ask at the local hardware store, which advertises that they re-cane, what their estimate would be. If I remember correctly, it was $15/hole for a seat with fine cane, like this one, which would bring the final tally over $300. So I decided to do it myself.
But that year was busy, and so was the next, and it wasn’t until Summer 2026 that I had the time and attention to bring to this. In June, I measured the holes, made some estimates about what I’d need for materials, and sent the pictures and my estimates off to Henderson Furniture in Nepean, who took a look, and came back to me with a few adjustments and a quote. The cost for supplies, which included extra caning pegs (which I was very glad to have) was just under $100 with shipping.


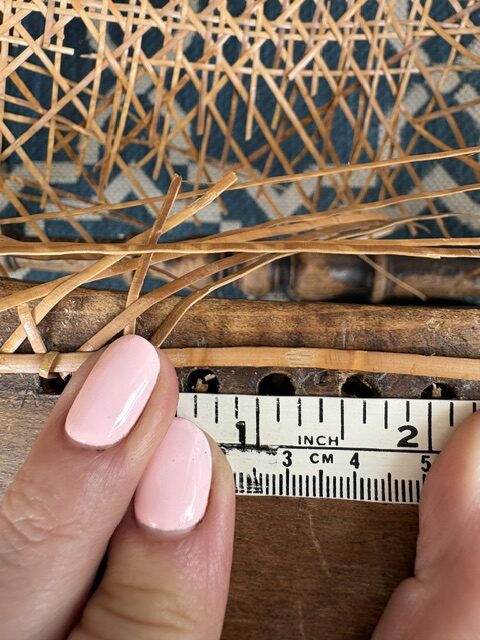
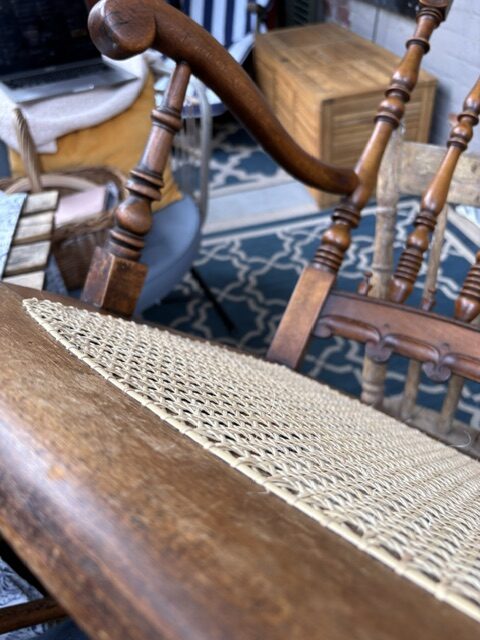
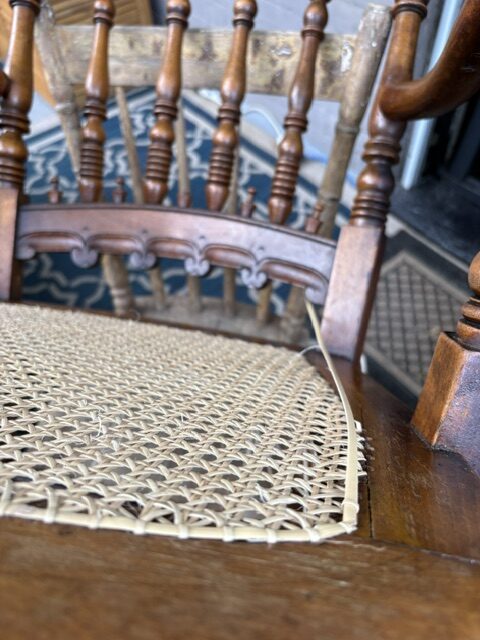
Some projects are seasonal in ways you might not expect; for me, chair caning is a Summer project, because you have to keep the cane wet in order to keep it pliable, which means your hands are wet. It’s great to do in a heat wave. When the supplies arrived, I carefully documented the original cane seat with video of the top and the bottom, just in case I needed a reference for how it had been done previously, and then removed the old cane, gave the wood a quick clean and a refresh with Wax’n’Feed, and started caning.


Eventually I moved my workspace to my back porch, known as the Pocket Garden, to take advantage of the lovely weather. My system for keeping the pieces of cane submerged in water was to float a ramekin on top, and make sure the parts that wanted to stick up were weighed down by it. This also became a very handy spot to keep extra pegs, so it did double-duty.
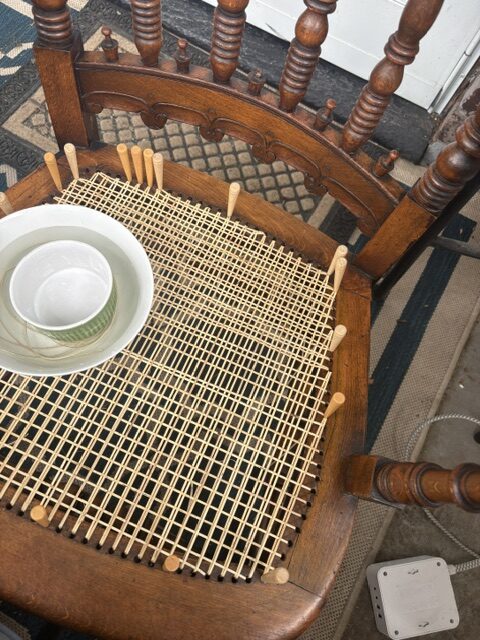


Though I’d re-caned chair seats many years ago, those were smaller seats with a larger gauge of cane, and so this was a different challenge. Something I wasn’t expecting was how hard it was on my back to be constantly bent over to reach the back of the seat; I ended up propping the chair up on another chair, to get some height and also angle it so that I could reach without ending up in pain after 40 minutes.
A nice development since my last project like this is that there are so many terrific tutorials on YouTube now – I used Peerless Rattan’s Seven-Step method, which was incredibly helpful and very clear.
There are absolutely loads of mistakes I made along the way, some I noticed and took out, some I didn’t, and had to work with later. Having those videos of how the original cane had sat was incredibly useful, and I referred back to them often. I think I did a decent job, but I doubt this seat will last as long as the previous one did – though I know from experience that a cane seat will hold in place a very long time, even if it’s not properly finished off with the ends tied and tucked into place.
The original chair-caner also used many small pieces of wood hammered into the holes to help hold the cane in place; I’ve saved all of those, and used a few in finishing up the seat. If I find myself re-caning it again in the future, I may put more of those to use.
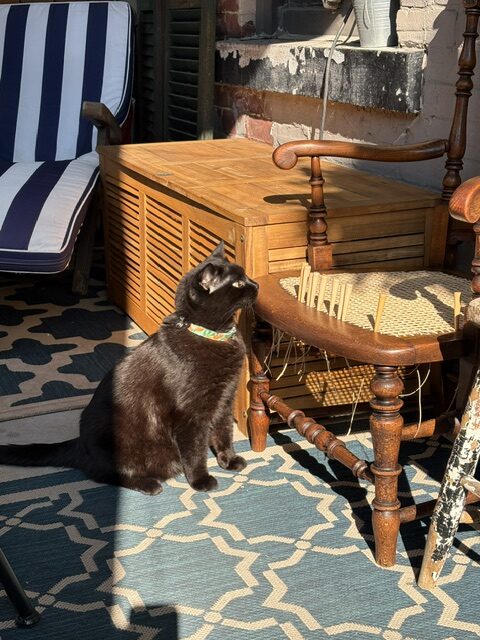
I started work on the chair on July 1, and finished by July 20, which I’m very happy with. I don’t have a good sense of how many hours I put in, nor how many Alfie did in his supervisory role, but to complete a project like this within a few weeks, after work and on weekends, feels pretty great.




Follow the link for more of my Creative Projects.


