Crab Apple Jelly
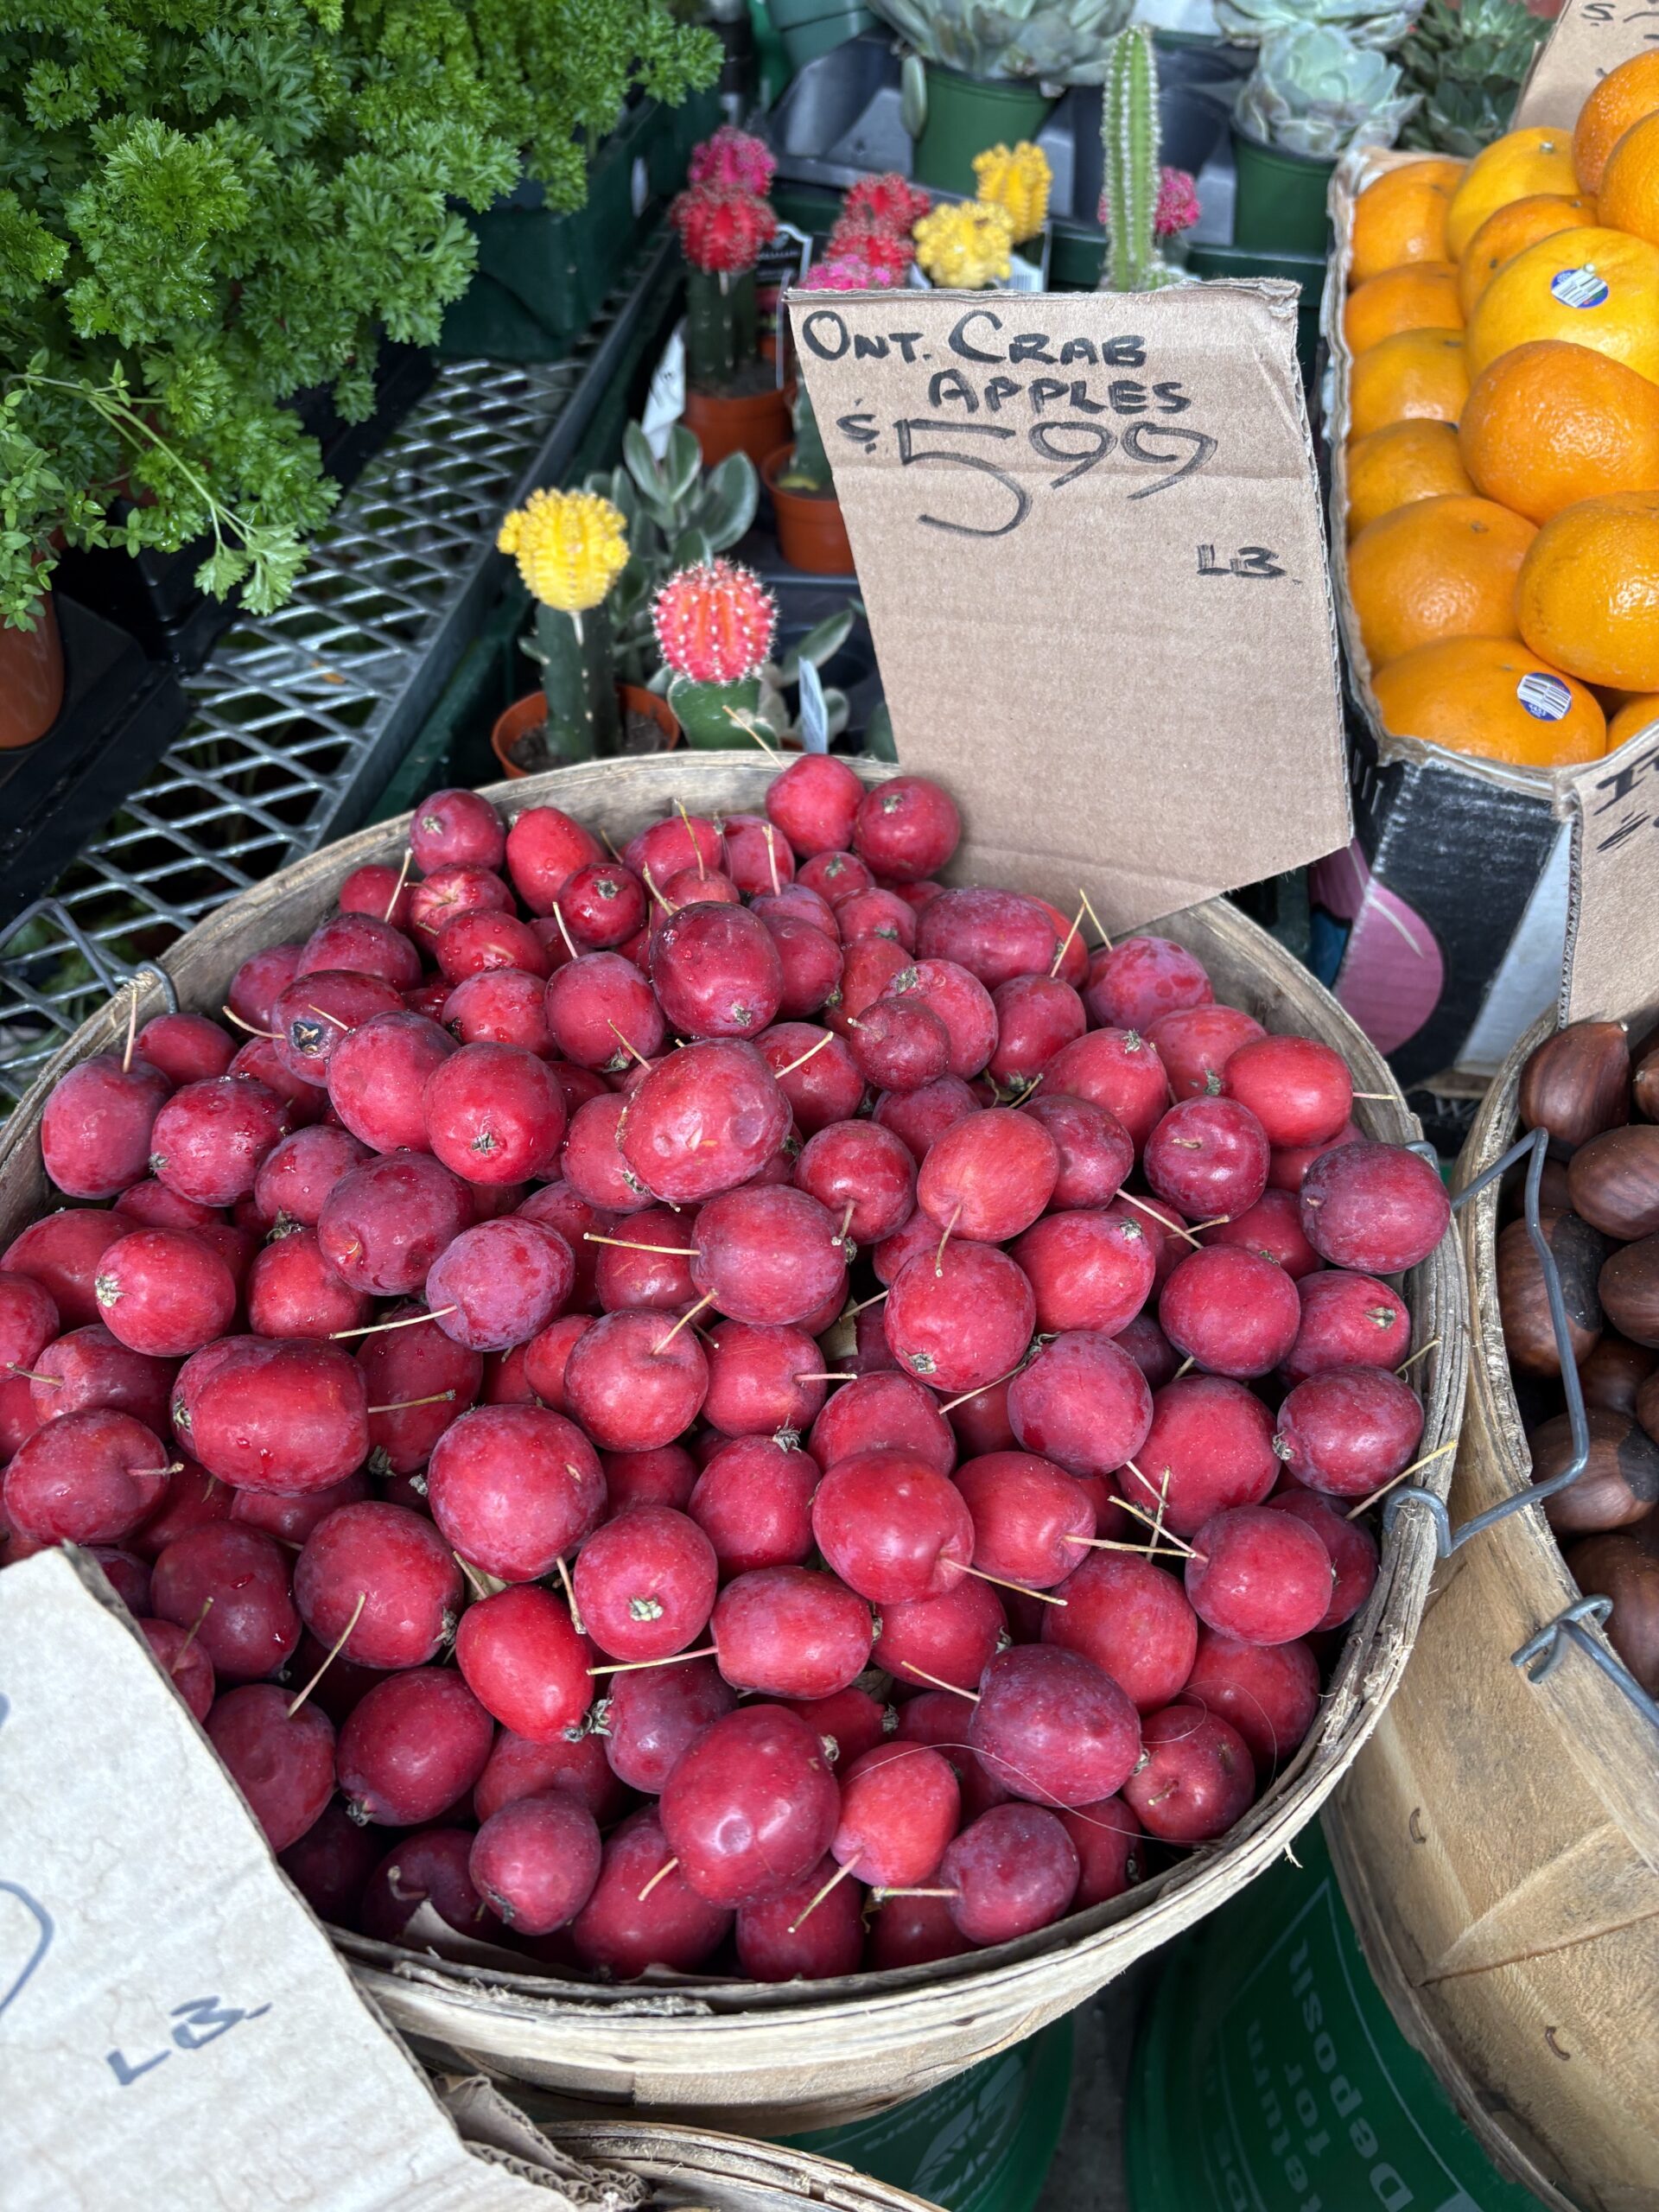
I’ve been thinking about making Crab Apple Jelly for years – every August, my neighbours’ trees are heavy with pretty red crab apples – but I’ve never gotten around to asking if I can harvest some and try making jelly. This year, I happened to see some for sale at a produce store in the north end, grabbed roughly 2 lbs, and then started looking at recipes.
I don’t know why, but even my go-to places for canning recipes all seem to go a bit weird when it’s a jelly recipe; I didn’t have a ton of confidence in any of them. And most called for 5-6 lbs of fruit. So luckily I ran across a recipe that included directions based on the amount of juice extracted from the crab apples – thank you Seasons and Suppers – and I combined it with information from Bernardin and Canadian Living.
This recipe doesn’t require pectin, because the skins of the crab apples have more than enough pectin naturally.
You can do this in one day, but I’ve split it into two, because you need time for the cooked crab apples to drain.
Note: the way I write recipes sometimes looks intimidating, because I break down every action into a new step, which seems like a lot. Most recipe writers prefer to minimize the number of steps to make the recipes look easier, but I find that leads to more stress and confusion, and often mistakes which mean the end result isn’t great. So a recipe that may have 5-8 steps in one version may have 20+ in mine – sometimes (like with my baking and canning recipes) that’s because I’m including information that it’s assumed you already know, and sometimes it’s just a different style of breaking down the steps.
Crab Apple Jelly
Prep Time: 30 minutes
Cooking time: 30 minutes, split between two days
Draining Time: 2 – 12 hours
Processing Time: 10 minutes
Tools
Kitchen Scale
Large Pot
Sharp Knife and cutting board
Jelly bag and stand, or cheesecloth and some way to suspend it over a bowl
Bowl
Potato Masher
250 ml (1 cup) canning jars, with rings and brand-new lids
Metal baking tin or oven-proof bowl
Candy Thermometer – optional, but useful – if you don’t have one, use the Cold Plate Test
Canning funnel
Ladle
Rubber spatula or similar
Clean cloth (to wipe the edges of the jars if you get jelly on them)
Non-metallic tool to remove air bubbles from jelly
Jar-lifting tongs
Canning pot
Ingredients
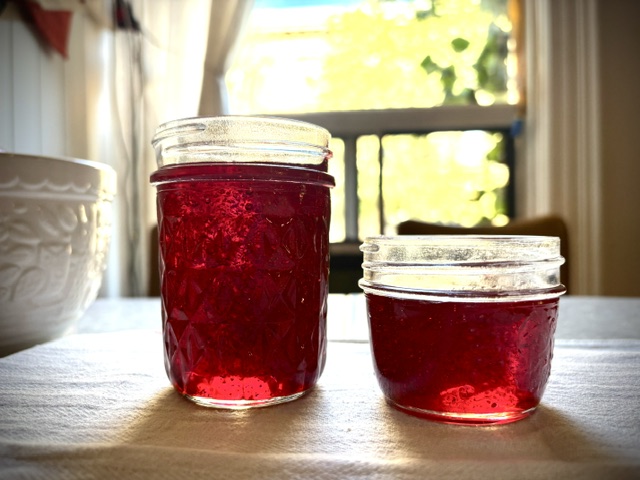
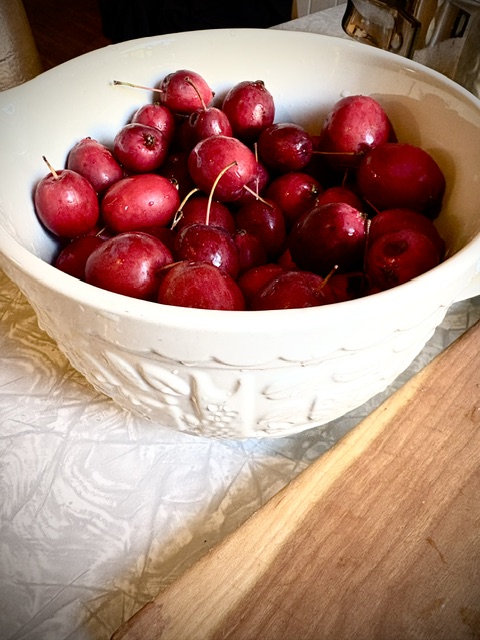
A quick note about crab apple quantity: I had just under 1 kg (2.2 lbs) of fruit, and after standing to drain overnight it produced just under 2 cups of juice, which in turn produced about 1.75 cups of jelly.
Fruit doesn’t have a consistent water content, so it’s difficult to give a precise ratio of fruit to juice, and of course in a Farmer’s Market you’re not going to know the weight of the fruit.
Seasons and Suppers‘ recipe notes that she started with a 3L basket of crab apples, which produced 4 cups of crab apple juice, and that’s what I’ve noted below, but if you have a different amount, that’s okay – the directions include information for different amounts.
- a 3L basket of crab apples, which should produce approx 4 cups crab apple juice (see below for directions for other amounts of crab apples)
- 1 cup water for every 500g (1 lb) of fruit
- 3 cups white sugar, *See Note 2 below for ratio of sugar to juice to use
- clean jars, rings and lids, sterilized if canning
Method
Crab Apple Jelly – Day 1
- Weigh the crab apples and make a note of the total weight – you’ll add 1 cup water for every 500g (1 lb) of fruit.
- Wash the crab apples.
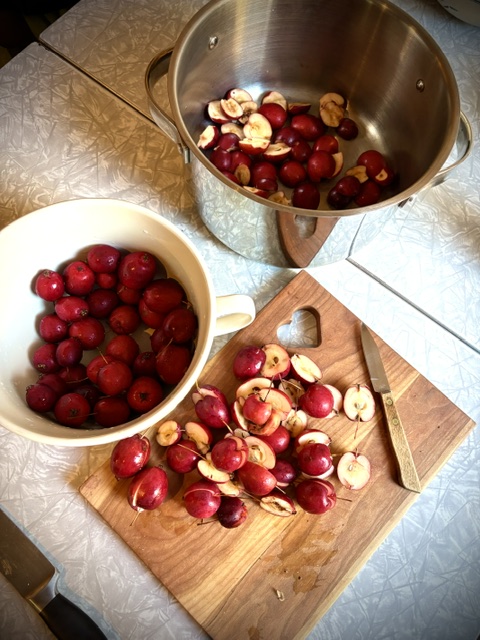
- Chop the crab apples in half, and remove the stems and cut off the blossom ends. Do not peel or core.
- Place prepared apples into a large stockpot with 1 cup of water for every 500g (1 lb) of fruit.
- Bring crab apples and water to boil.
- Reduce heat, cover and simmer, stirring occasionally, for about 10 minutes or until softened.
- Wet and wring out jelly bag; suspend on frame over large measuring cup or bowl.
- Using potato masher, crush crab apples.
- Simmer over medium heat for 5 minutes.
- Fill jelly bag (or whatever you’re using) with crab apples.
- Let juice drip undisturbed, at least 2 hours or overnight.
If you squeeze the jelly bag, you’ll end up with cloudy jelly.
I also drape a large tea towel over the jelly bag to keep the fruit flies out over night.
Crab Apple Jelly – Day 2
Prepping the jars
- Place 8 clean 250 ml mason jars on a rack in a boiling water canner.
- Cover jars with water and heat to a simmer (180°F / 82°C).
- Set screw bands aside.
- Keep jars hot until ready to use.
- Wash lids in hot, soapy water, allow to air dry, and set aside until needed. Do not preheat – preheating can lead to less vacuum being achieved during water bath canning.
Making the Crab Apple Jelly
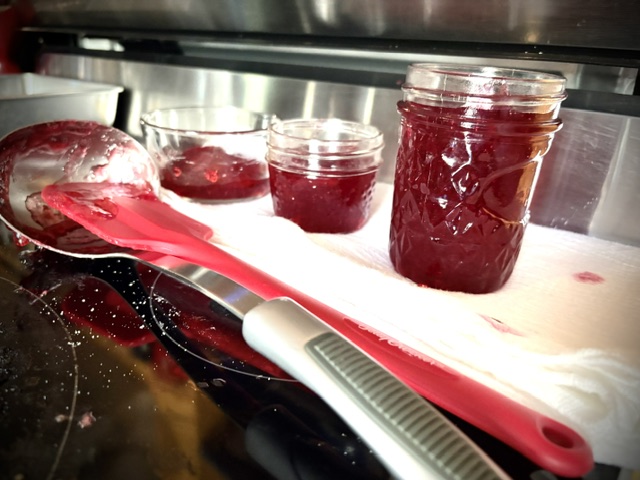
- Discard crab apple pulp, and strain crab apple juice through jelly bag a second time (this will be very quick).
- Measure out the amount of juice you have collected, and make note of how many cups of juice you have (I had just under 2 cups from just under 1 kg of crab apples, so I added a bit of water to make it 2 cups).
- Pour crab apple juice into a large pot, and clip your candy thermometer to the pot.
- OVEN: Add the sugar to a metal baking tin or oven-proof bowl, and place in the oven for approx 15 minutes or less (when the sugar is hot, it blends better with the juice).
- Measure out 3/4 cups white sugar for ever 1 cup of fruit juice.
- Preheat the oven to 300°F.
- The following steps (7 – 11) are done simultaneously – heating the sugar in the oven, and heating the crab apple juice on the stovetop:
- OVEN: Keep an eye on the sugar, and stir occasionally – at this heat, the sugar can start to melt or burn if not watched. It should be hot to the touch, but not melting.
- STOVETOP: As the sugar is heating, bring the crab apple juice to a boil over high heat.
- STOVETOP: Reduce heat to medium and simmer crab apple juice, stirring, for about 5-10 minutes, skimming off and discarding any foam.
(NOTE: I simmered mine for about 20 minutes, and my jelly is a bit too thick – so I’ve reduced the simmering time here) - OVEN: When sugar is hot, remove from the oven.
- STOVETOP: Remove the pot with apple juice from the heat.
- Stir in the hot sugar until it is just dissolved.
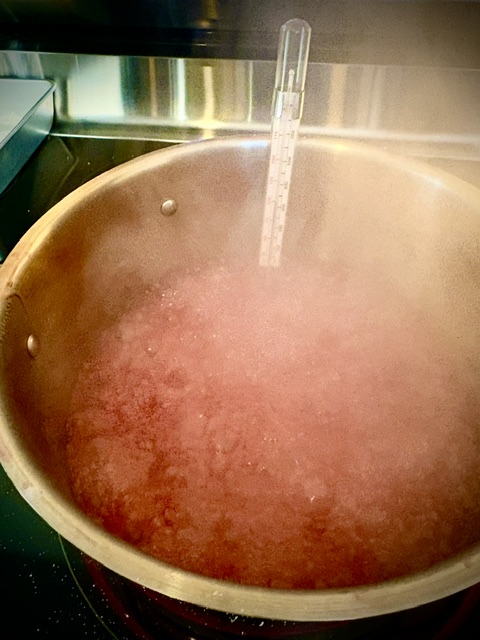
- Place the pot back on the heat and boil without stirring until mixture reaches 221°F on a candy thermometer
(Note: at higher altitudes, the temperature is different – check a trusted resource), or until the jelly passes the cold plate test - Reduce heat.
- Working quickly, ladle the jelly into clean or sterilized jars
- Wipe rim of jars with clean, damp cloth to remove any jelly
- Leave jelly in jars with lids off until cool, and do not move the jars
- When jelly is nearly cool, centre clean sealing disc on clean jar rim.
- Screw band down until resistance is met, then increase to fingertip tight.
- Place jelly jars in canning pot, ensure that all jars are covered by at least 1″ (2.5 cm) of water.
- Cover canner and bring water to full rolling boil before starting to count processing time. At altitudes up to 1000 ft (305 m), process (boil filled jars) 10 minutes.
- When processing time is complete, remove canner lid, remove jars without tilting and place them upright on a protected work surface.
- Cool upright, undisturbed 24 hours; do not re-tighten screw bands.
- After cooling check jar seals. Sealed discs curve downward and do not move when pressed.
- Remove screw bands; wipe and dry bands and jars. Store screw bands separately or replace loosely on jars, as desired.
- Label and store jars in a cool, dark place. I usually write the date on the lids with a Sharpie; if I’m gifting them, I print nicer labels which also note the date.
For best quality, use home canned foods within one year.
For more delicious recipes, check out my Family Recipes page.