Roasted Red Pepper Ketchup
I’ve been making this ketchup recipe for years, and it’s super-delicious. I give jars of preserves as gifts at Ecksmas, and literally have people fighting over these ones in particular (the people who love the Mango Chutney are, oddly, much more chill about it).
As with most canning, this recipe is mostly just washing things – the canning jars and lids, the produce, the tools you’re using – and prepping the produce; once it goes in the pot, it’s very simple.
I know it looks like a lot of steps, but if you give it a quick read-through, you’ll see they’re all pretty straightforward. I like to make sure each action is a separate step, because if you’re like me, you might accidentally skip steps if they aren’t listed individually.
This recipe is based on one in Put’Em Up by Sherri Brooks Vinton; I totally recommend this book for really good, unusual recipes that make preserves people will actually be glad to get (Link goes to the Goodreads page for the book).
My canning advice:
- For this recipe specifically: Start before noon. I often start late in the day, full of idiotic optimism, and I’ve been exhausted and processing jars of ketchup after midnight a million times.
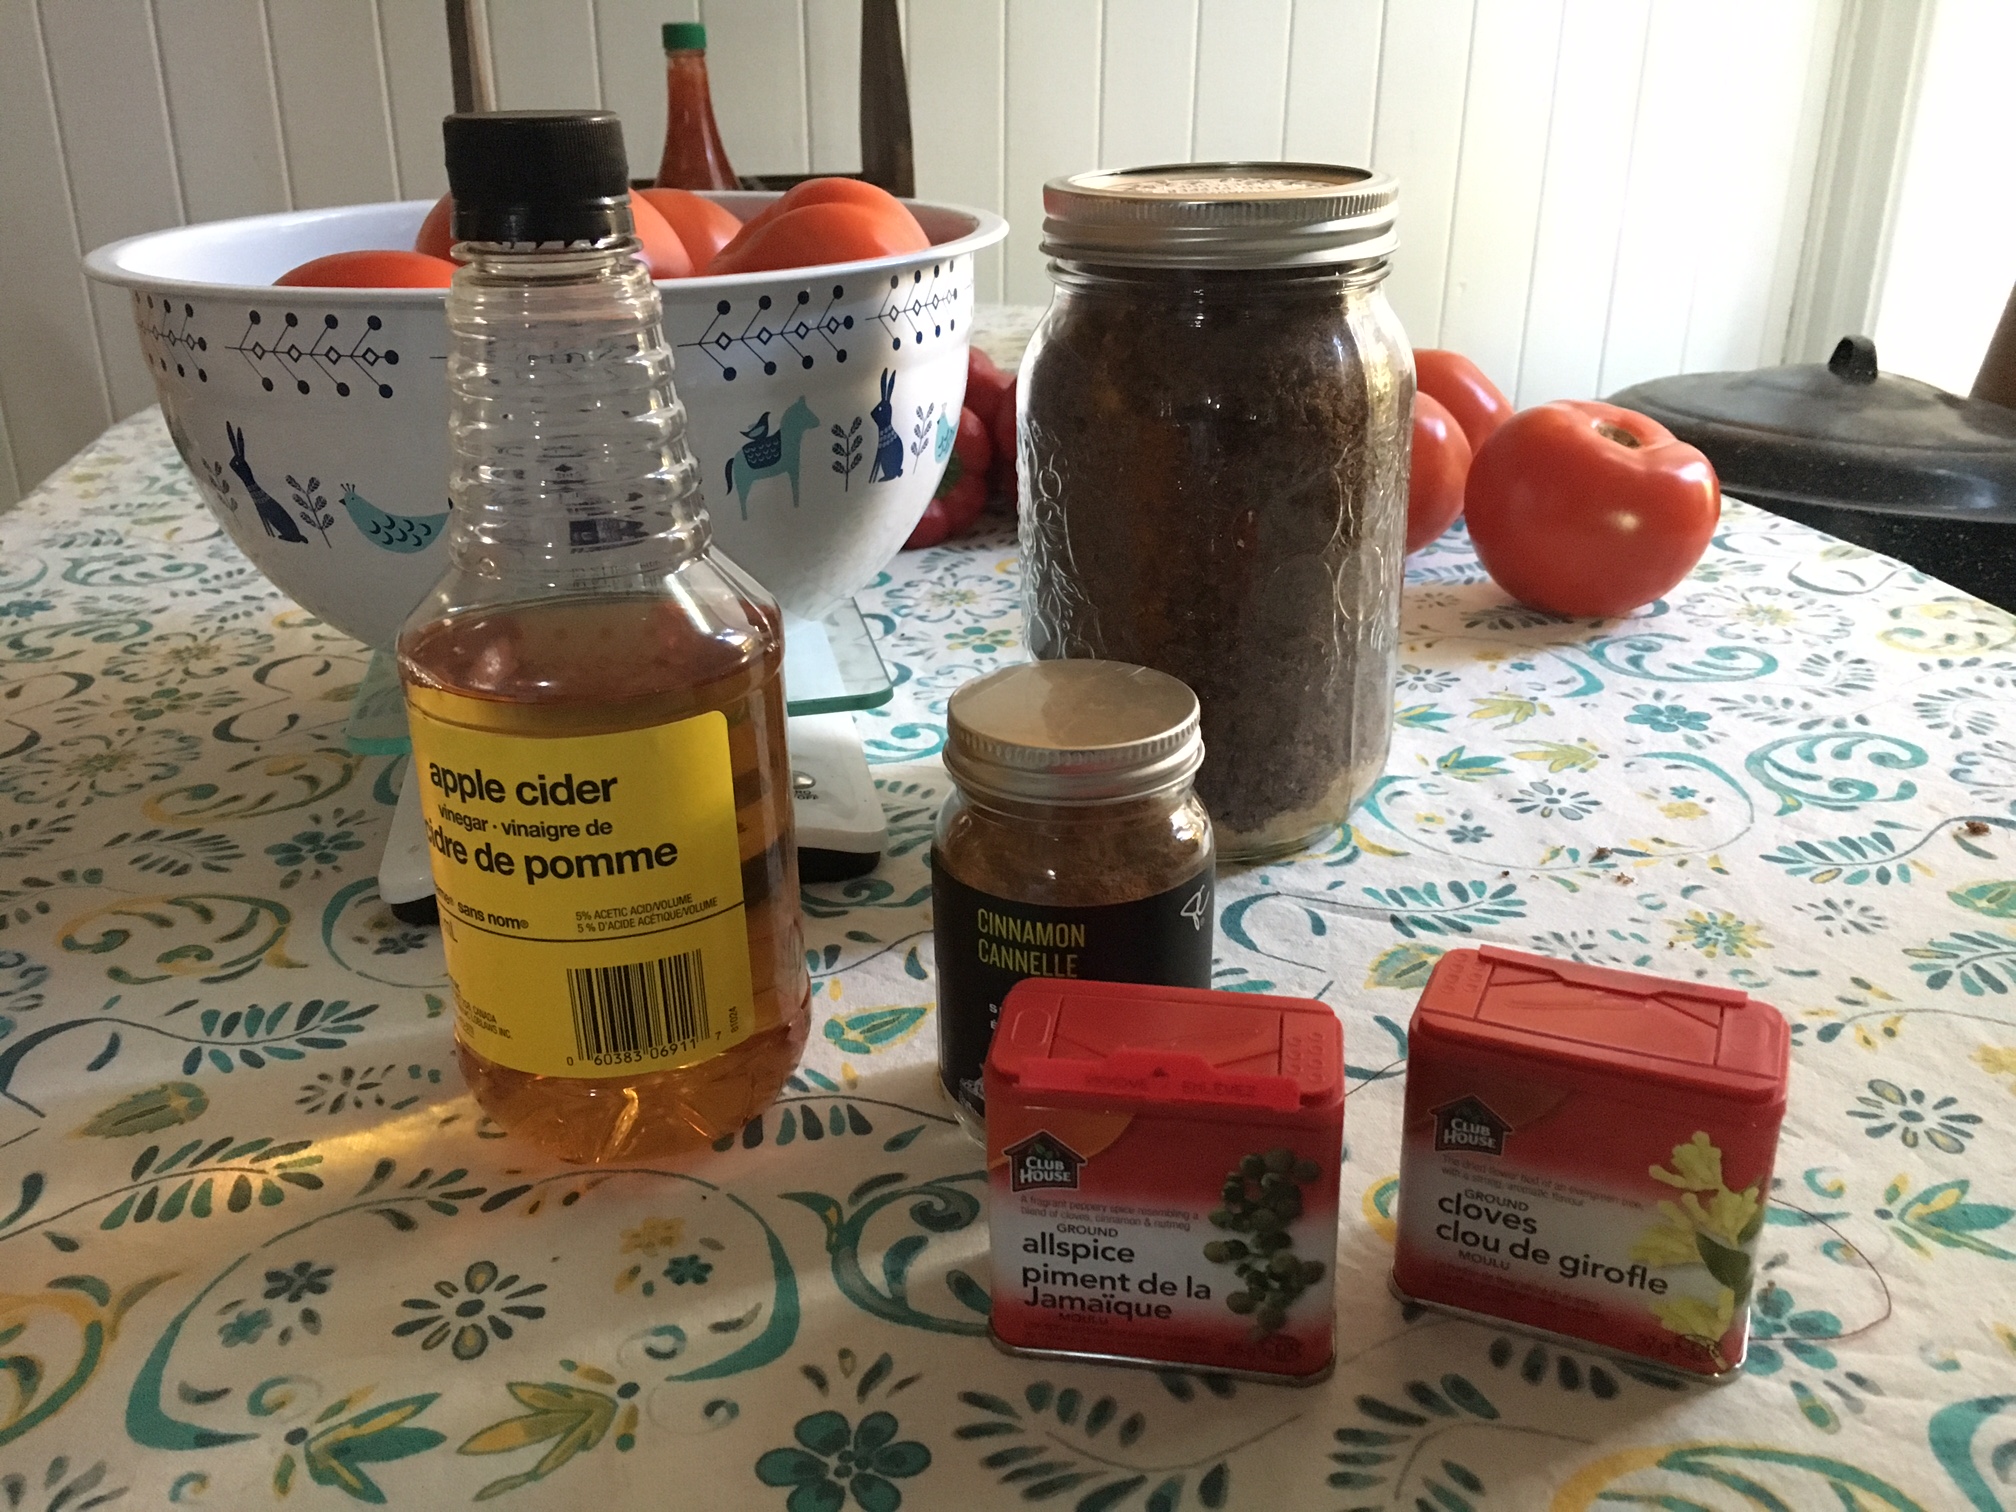
- Get all of the ingredients & equipment out on the counter to make sure you’ve got what you need before getting started. Better to realize that you’re out of cider vinegar or mason jars before you’re in the middle of things, and it’s always nice to have everything right to hand as you need it.
- Don’t wander away while the recipe is simmering; it will burn on the bottom of pot (I speak from experience). If you’re the kind of person who loses focus, set a ten-min timer or find some way to remind yourself.
- You can’t reuse the snap lids for canning; it’s not safe. Jars and screw bands are reusable.
- Wash everything that will touch the food you’re canning, even things that seem clean, in hot soapy water on the day that you’re canning.
Roasted Red Pepper Ketchup
Approx 12 cups
 Ingredients
- 4 lbs ripe tomatoes
- 4 lbs ripe red bell peppers
- 2 medium onions, chopped
- 2 cups cider vinegar
- 2 cups brown sugar, lightly packed
- 1 1/2 tablespoons salt
- 4 garlic cloves, sliced
- 2 teaspoon ground allspice
- 1 teaspoon ground cinnamon
- 1 teaspoon ground cloves
- Cooking oil (I use olive oil)
- Ice for blanching
Most of the items listed below are standard canning equipment that you will be able to use over and over.
 A kitchen scale (for weighing produce)
- Large Pot
- Bowl
- Immersion blender (you could do this with a regular blender, working in batches, but it will be more work and cleanup)
- Sharp Knife
- Tongs
- chopping board
- Twelve 250mL canning jars with brand-new lids
- Canning funnel
- Slotted spoon
- Ladle
- Rubber spatula or similar
- Clean cloth
- Jar-lifting tongs
- Canning pot
 Pre-heat oven broiler.
- Wash red peppers thoroughly.
- Place red peppers on a shallow baking tray.
- Lightly coat red peppers with oil.
- Place tray of red peppers in oven, about 4″ from the top element.
- Broil peppers, turning to allow them to blacken slightly on each side, approximately 15-20 min.
- Remove peppers from the oven and allow to cool.
Blanching, peeling, and draining the tomatoes
- Bring a large pot of water to a boil.
- Prepare an ice water bath in a large bowl or clean sink.
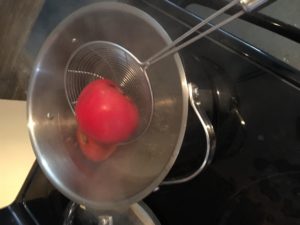
- Drop tomatoes in the water, 2 or 3 at a time.
- Blanch tomatoes for approximately 1 minute each – water should be at or near boiling, and tomato skins should split.
- Remove tomatoes from the water with a slotted spoon or similar, and immediately plunge in the ice-water bath.
- Cool tomatoes for approximately 1 minute.
- Remove tomatoes form the ice water bath.
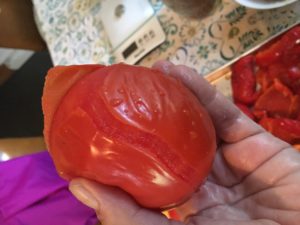 Remove skins from tomatoes – they should pull off pretty easily – and discard. The tomatoes will still be very hot, so work carefully and nimbly.
- Core and roughly chop tomatoes, discarding cores.
- Place chopped tomatoes in a fine sieve or colander lined with cheese cloth, working in batches to press out the extra juice – this will reduce your simmering time.

Making the ketchup
- Core and roughly chop roasted red peppers, discarding seeds, stems, cores, and skins.
- Combine drained tomatoes, chopped red peppers, onion, vinegar, salt, garlic, allspice, cinnamon, and cloves in a large nonreactive saucepan and bring to a boil, stirring occasionally.
- Reduce heat and simmer for about 10 minutes, stirring occasionally.
- Remove from heat, and puree mixture with an immersion blender or in batches in a blender (be careful of splattering sauce!).
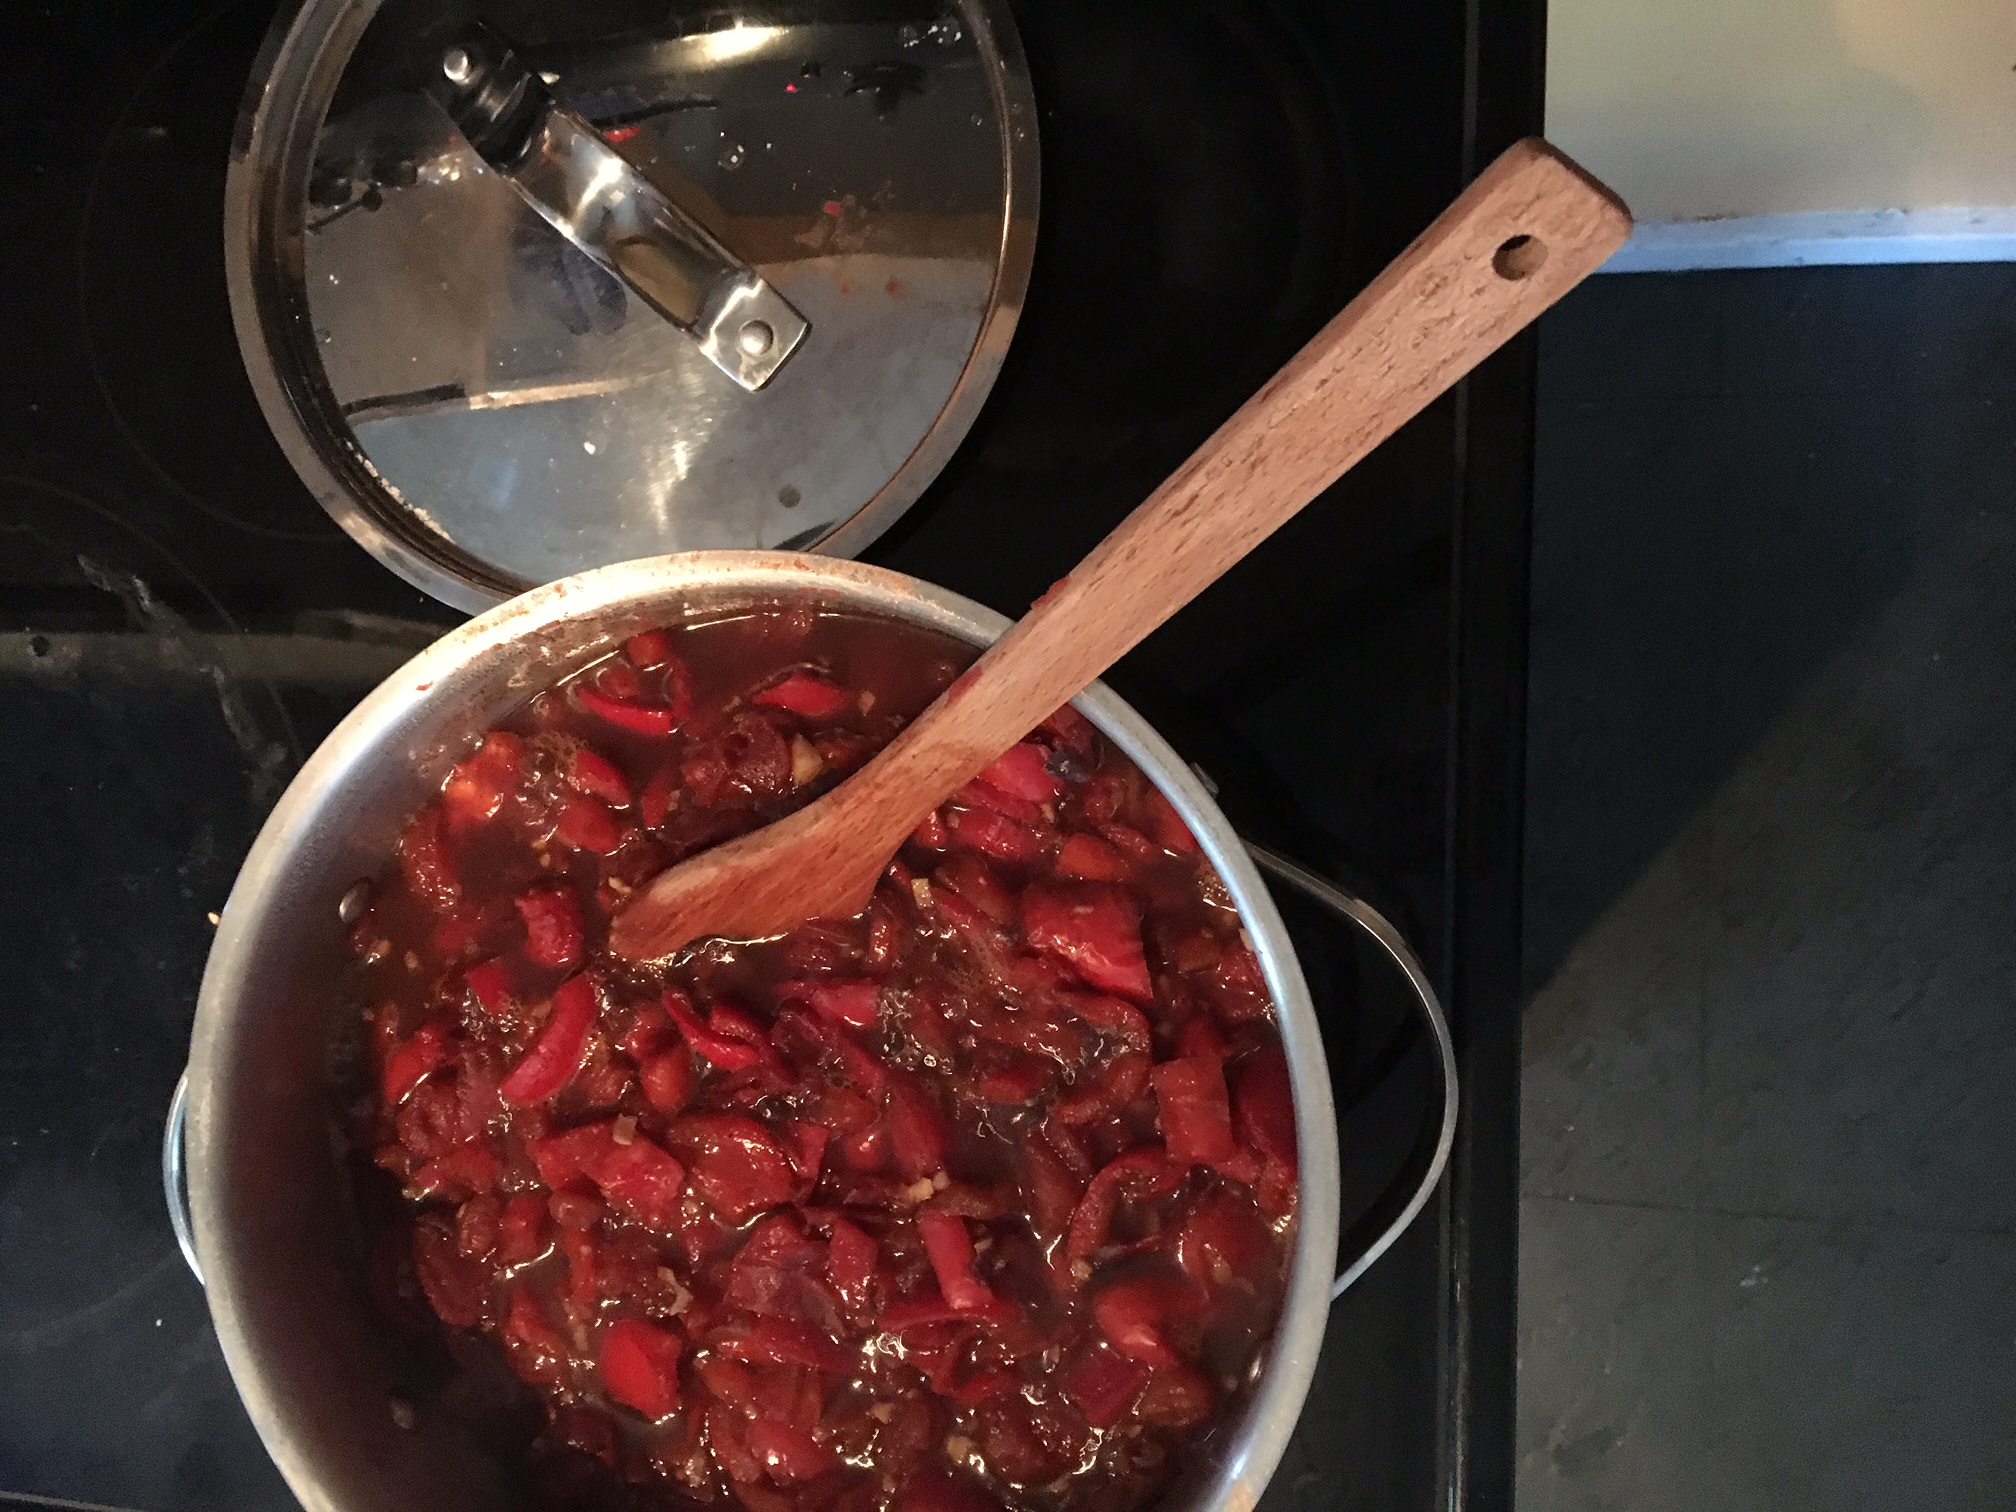
- Return puree to stove and simmer over low heat until thickened, approximately two hours (possibly longer, depending on how you prefer your ketchup consistency), stirring occasionally.
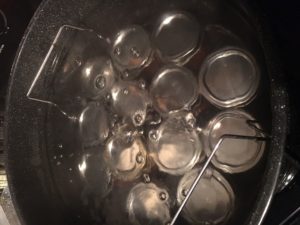
If you wander away and forget to stir it, it will burn on the bottom of the pot and the flavour will be meh (I’ve done this). - While the ketchup simmers, wash your jars, new lids, funnel, ladle, and any other tools in hot, soapy water. When canning, always wash everything that will come into contact with the food, even if it seems clean. This is so important for safety, I can’t stress it enough.
- Once the mixture has reached your desired consistency, remove from heat. The ketchup will not thicken as it cools, so be sure you’ve simmered it enough! Mine is almost always too thin, because I get impatient or have started too late int he day and I’m tired.
- Using a ladle, fill jars with hot ketchup mixture, leaving a ½ inch headspace at the top.
- Using a rubber spatula or similar, remove air bubbles by running it around the edges of the jar as needed.
- Wipe the rims of the jar with a clean cloth, and add lid and screw band. Finger-tighten screw band; do not over-tighten.
- Place in boiling water bath, ensuring at least 1 inch of water above the tops of the lids.
- Bring water back to a boil.
 Process the jars of ketchup in a boiling water bath for 15 minutes.
If you’re more than 1000 feet above sea level, water bath times are different! Look them up online before starting
- Remove jars from water bath carefully, without bumping or jostling. Allow to cool undisturbed overnight.
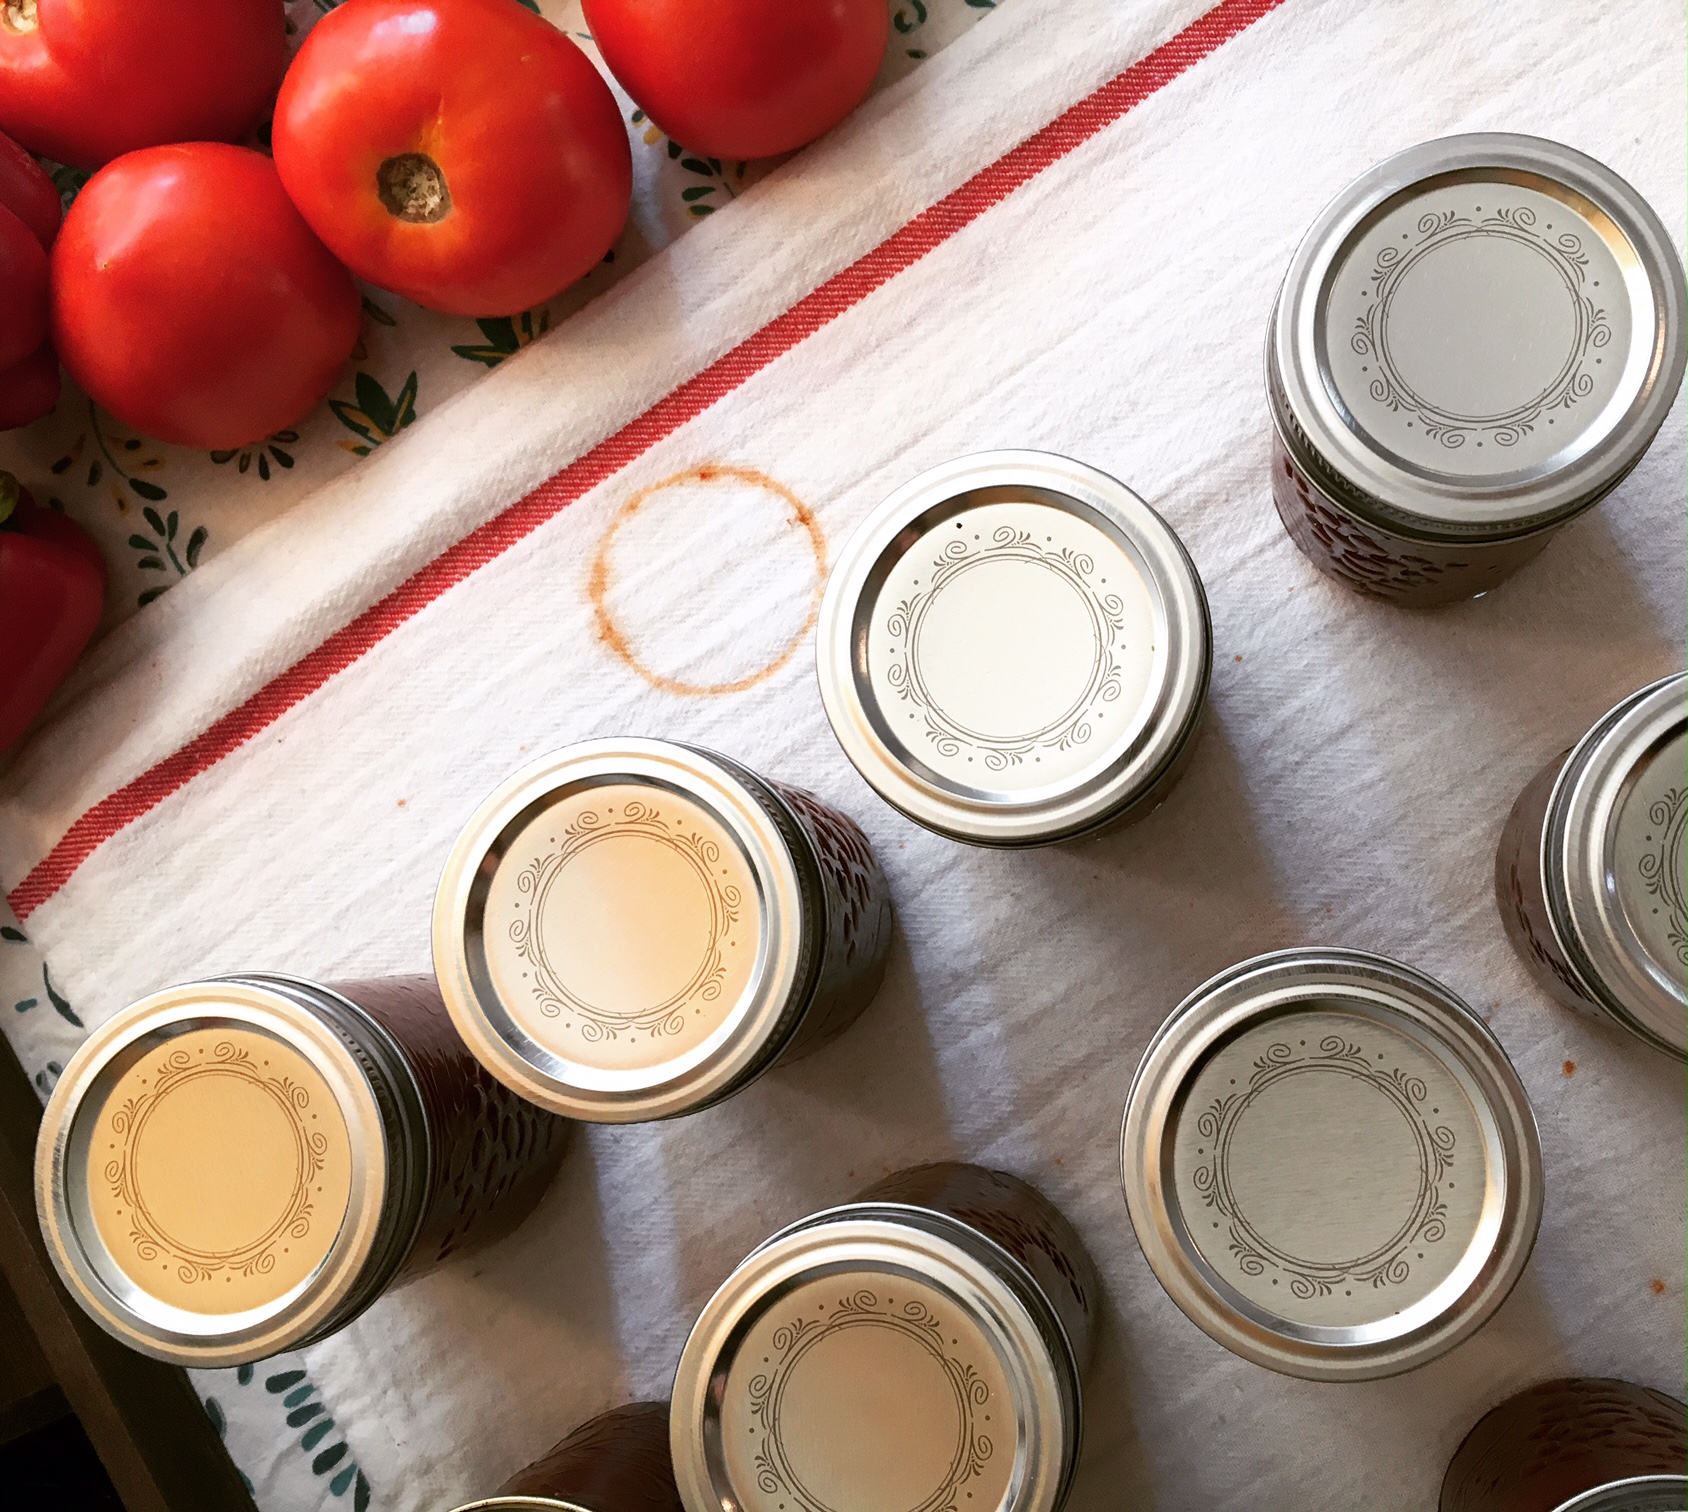
- Test the lids of the jars to see if they’ve sealed properly – a proper seal means the lids are bowed down in a bit in the centre and don’t move when pressed. If the lids pop up and down when you press them, they haven’t sealed properly and can’t be stored at room temperature. It’s possible to reprocess the jars with a brand-new lid to see if they will seal properly, but otherwise they should be stored in the fridge and eaten early.
- Loosen the screw bands, and store jars in a cool, dark place until you’re ready to use them. Check occasionally to ensure that the screw bands aren’t rusting – this can cause the seal to break.